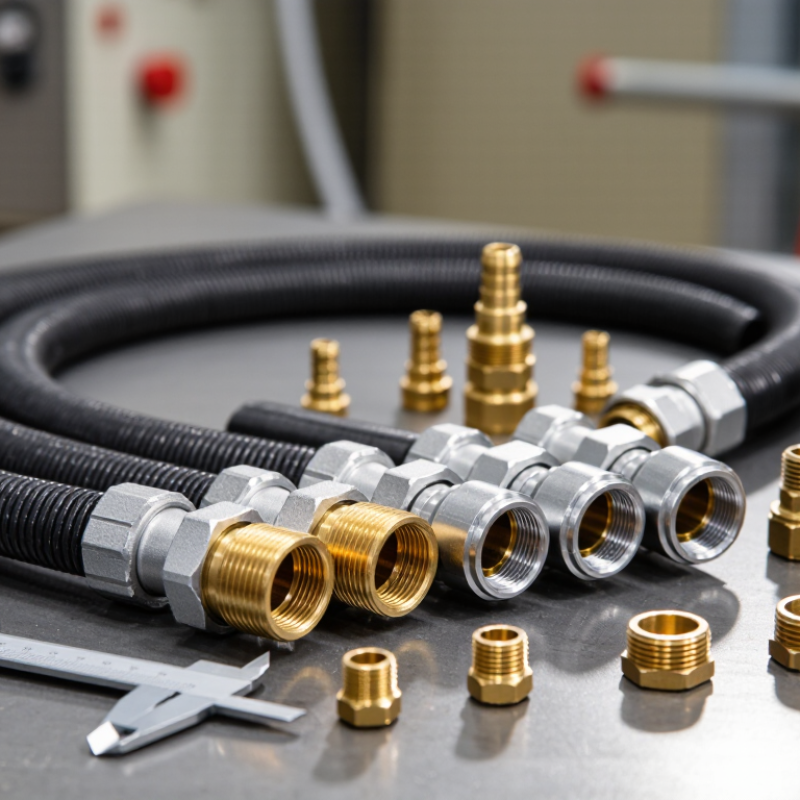
Choosing the right Discharge Hose Coupler is a practical safety decision, not a catalog-box exercise. A mismatch can cause leaks, pressure loss, difficult handling, or premature wear. The right choice depends on the hose’s inside diameter, working pressure, fluid, temperature, connection style, and operating environment. A coupling that fits on a bench may still fail under vibration or repeated movement.
The U.S. Bureau of Labor Statistics recorded 5,283 fatal work injuries in 2023. That figure covers all industries and is not specific to hose couplers, but it underscores why equipment selection and inspection deserve care. For technical guidance, consult the hose manufacturer’s pressure and fluid-compatibility data, then check recognized standards such as ISO 7241 where applicable. Do not rely on appearance alone. Check the seal, retention method, and material compatibility.
One limitation matters here: no source articles or verifiable interview were supplied, so I cannot responsibly attribute a quotation to a named coupler-industry expert. A useful selection principle is still clear: match the coupling to the complete system, not just the hose end. Measure the bore. Confirm the operating pressure. Consider what the line carries and how crews connect it in the field. Then inspect the assembled joint under the conditions it will actually face. Small details count. A little uncertainty remains; real installations can differ from product specifications, so experienced review is worthwhile.
Understanding the Role of a Discharge Hose Coupler
How to Choose the Right Discharge Hose Coupler?
Understanding the Role of a Discharge Hose Coupler
A discharge hose coupler connects the hose to a pump, valve, or another hose. It must keep the flow path secure while handling the system’s working pressure. A correct fit also helps prevent leaks, sudden separation, and unnecessary flow restriction. Small part. Big consequence.
Start by matching the coupler type, connection size, material, and pressure rating to the hose and equipment. Check the manufacturer’s specifications rather than relying on appearance; two fittings can look similar but use different threads or locking systems. OSHA’s workplace fire-brigade rule provides a useful pressure-testing benchmark: covered hose must be tested annually at 200 psi, or 50 psi above maximum operating pressure, whichever is greater (29 CFR 1910.158(c)(4)(ii)). This requirement applies to covered fire-brigade hose, not every discharge hose. A coupler’s rating should suit the actual assembly and service conditions.
Identifying Hose, Fluid, Pressure, and Temperature Requirements
How to Choose the Right Discharge Hose Coupler? Identifying Hose, Fluid, Pressure, and Temperature Requirements
Start with the hose, not the coupler catalog. Measure the hose’s inside diameter and confirm its outside diameter, wall construction, and end style. Check the actual bore. A coupler that fits loosely can leak or pull free; one forced onto the hose may damage its reinforcement. For a field check, compare the measured hose with the coupler’s stated connection dimensions, then inspect the assembled joint for gaps or movement. Small details matter.
Next, identify the fluid and every material it touches. Water, oils, and cleaning solutions can affect coupler bodies, seals, and hose liners differently. Confirm compatibility for the specific fluid and its concentration, not just a broad category. A seal may look fine while swelling or hardening after repeated use. That detail is easy to overlook.
Match the coupler’s pressure rating to the system’s actual operating conditions, including startup surges. The complete assembly is limited by its lowest-rated part: hose, coupler, clamp, or seal. Check temperature at both ends of the job: the conveyed fluid and the surrounding air. Include brief exposure during flushing or shutdown. A specification sheet helps, but it may not capture every field condition; when details are uncertain, verify them before putting the line under pressure.
How to Choose the Right Discharge Hose Coupler
Water saturation pressure rises sharply with temperature. Use this reference to understand one temperature-related pressure factor; it is not a substitute for checking the actual fluid, operating pressure, hose, and coupler ratings.
Selection reminder: Confirm fluid compatibility, hose and coupler working-pressure ratings, and temperature limits for the complete assembly. The chart shows water saturation pressure in absolute pressure, not the required rating for a particular system.
Comparing Coupler Types, Materials, and Connection Methods
Discharge hose couplers differ in connection speed, sealing, and maintenance needs. Cam-and-groove couplers connect quickly with levers, which helps when lines change often. Threaded couplers can provide a secure joint when correctly matched and tightened, but grit on the threads may cause leaks. Quick-connect designs simplify frequent handling; check that their locking mechanism suits the operating pressure. Flanged connections suit larger or fixed systems, where aligned faces and a suitable gasket help create a reliable seal. There is no universal best choice.
Material must match the fluid and working conditions. Aluminum is lightweight, while stainless steel may better resist corrosion; neither suits every chemical. Polypropylene can handle some chemicals, but temperature and pressure limits still matter. Check compatibility charts and rated pressure, including possible surges. Small details matter. At the hose end, a barbed tail with correctly sized clamps may suit flexible service, while a crimped ferrule creates a fixed assembly when installed with matched tooling. Adaptors must match thread type, not just diameter. A snug fit alone proves little. Inspect seals, clamps, and locking parts for cuts, looseness, or wear, then recheck the connection after the first pressurized run.
Checking Compatibility, Sealing, and Safety Standards
A discharge hose coupler must match more than the hose diameter. Check the connection type, thread or lug pattern, and nominal size against the pump outlet and receiving fitting. A small mismatch can prevent full engagement or leave the assembly under strain. Also confirm that the coupler materials suit the fluid and expected temperature. A sizing chart helps, but it cannot identify a worn or altered fitting.
Sealing depends on clean, undamaged contact surfaces and the correct gasket. Look for cracks, flattened edges, grit, and corrosion before assembly. Seat the gasket evenly, then tighten or lock the coupler according to its instructions; forcing a misaligned joint can damage the seal. It is tempting to focus only on diameter. That is an easy oversight. Replace questionable seals rather than relying on extra tightening.
Safety ratings matter. Check the manufacturer’s stated working pressure and temperature limits, and make sure the hose, coupler, gasket, and clamps are all rated for the service. The weakest component sets the practical limit. Follow applicable equipment standards and site procedures, and never exceed the rating printed or specified for the assembly. Before routine use, secure the hose, keep people clear of discharge, and test the connection at low pressure. Stop if you see seepage, movement, or bulging. Even careful checks can miss a defect, so inspect the joint regularly.
Selecting a Coupler for Installation and Ongoing Use
How to Choose the Right Discharge Hose Coupler?
Choosing a discharge hose coupler starts with the installation, not the catalog photo. Check the hose’s inside diameter, working pressure, and the fluid being moved. Match the coupler’s connection type to the pump outlet and receiving line. A snug fit matters. A coupler that looks close can still leak or restrict flow. Check the fluid temperature, too, and confirm the coupler material can handle it. A setup that works in a cool test area may behave differently outdoors.
Tips: Lay out the hose and coupler on a clean surface before assembly. Check that the gasket is present and undamaged. Follow the installation instructions for clamp position and tightening. Don’t overtighten a clamp to compensate for a mismatched size. If anything feels forced, pause and recheck the measurements.
After installation, run the line at low pressure and watch the joint. Look for seepage, hose movement, or a coupler twisting under load. Inspect it during routine use, especially after the hose has crossed concrete or sharp corners. Replace worn seals and damaged parts rather than relying on another tightening. It is easy to dismiss a small drip when the system still works, but that can make later troubleshooting harder. Keep a note of the coupler size and seal type for maintenance.
 Skip to content